Showing posts with label Kids Birthday. Show all posts

Monday, June 20, 2011

8 is GREAT!!! - Invite Tutorial

 Hi ya everyone!
  It's my turn to share a tutorial at She's A Sassy Lady today and I chose my daughter's invites as a project.
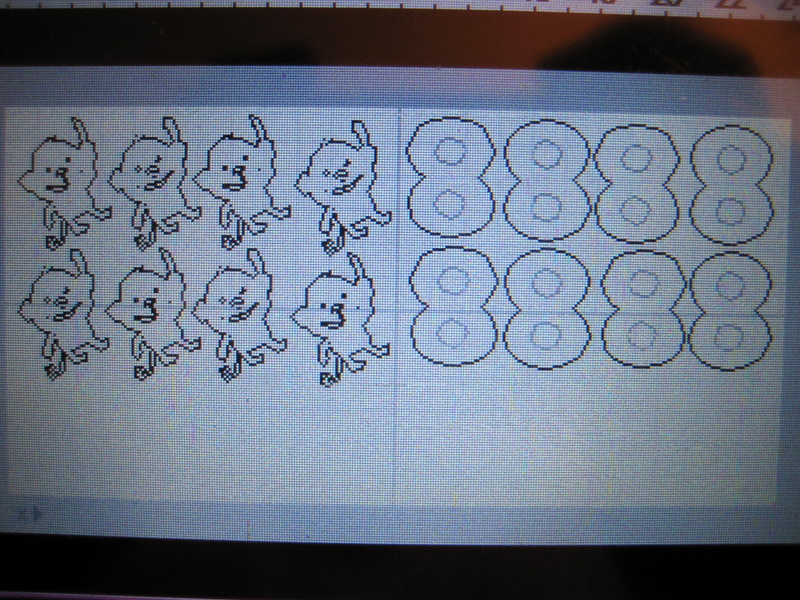
My sweet Anna is turning 8 this month and wanted a purple monkey cake - so specific for 8!  She also wanted monkey (Create A Critter) invites hanging from the number 8!  Again specific...she is all about the details! LOL - so I've decided to do a short tutorial on making single layer invites.  Instead of a card I wanted to make a flip over card basically because the monkey hanging from the 8 would be a little unsteady unless I placed it directly on a rectangle piece of paper.  I also like to use as little paper as possible.  I laid each element out on my Gypsy first and then split them up and made multiples.
Monkey Shadow (Brown Bazzil) and Monkey Front (Purple paper from Basic Grey stack Oh Baby! Girl)

Monkey Middle (Yellow Basic Grey stack Oh Baby! Girl and 8 backing in Green Basic Grey stack Oh Baby! Girl)
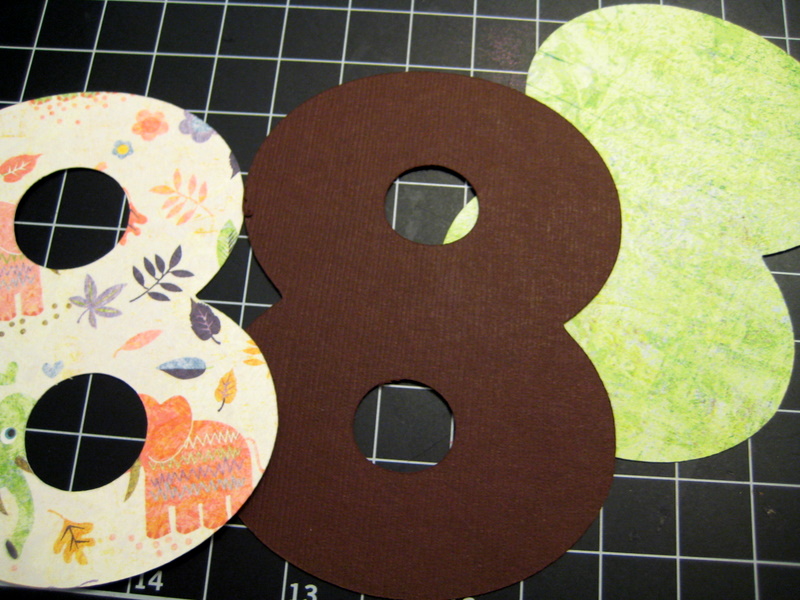
Front of 8 in Basic Grey elephant paper from Oh Baby! Girl stack and Brown Bazzil for shadow
I chose the following papers and cut out each card.
I also cut out an extra 8 with the holes shadowed for the information portion on the back.  Here are all the pieces cut and ready for assembly.
I adhered the 8 with my ATG.
I glued the top layer of the monkey onto the yellow paper and then adhered that to the shadow in brown using the ATG.

I then adhered the monkey to the 8 with glue and ATG.  I used both to make sure the two were adhered well together.
Sometimes I would use a bit too much ATG and it would hang over.
This is why I love the ATG I have because even though it's incredibly adhesive it can be rolled off gently.  I roll in slightly with my finger and then tear it off and use the glue ball to get any extra off.
Last, I grabbed my $1 Studio G stamp set, Versafine black ink and an acrylic block.
I lined up my stamps on the back of the invite first and then pressed the acrylic block to them.  I covered the stamps in black ink and stamped them to the invite! 
Thanks for checking out my tutorial!  I LOVE Comments and your encouragement is truly appreciated!

Monday, August 2, 2010

Happy Birthday - Jitterbuggin' #11

Hi everyone,
  I'm getting ready for a family vacation!!! YAY!  We are headed to the Oregon coast for a week and a half.  I'm a little worried though as our vacation house won't have WIFI.  Hmmmm, not sure how to feel about that - but I'm sure we can find a spot at least a couple times for me to post.  I will of course be taking some crafty items - but the beach is such a relaxing calming place for my husband and I that we will probably spend much more time out there then in the house.  So if you don't hear from me for a little while, don't worry I'll be back with some new creations as soon as possible!
  Now, on to the Jitterbuggin' Challenge.  I used Sherri's sketch:


The rules for this challenge were to use the sketch, add some purple, have a cricut cut and to make a birthday card for a child.  Great challenge because we all need to stock up on those birthday cards.  This card was inspired by a good friends daughter.  She dressed up as a little pink poodle for Halloween.  The costume was adorable and made by her mom.  Jen is very crafty, check out her blog here if you like layouts!  Anyhow, all I could think about for this card was the poodle from Create A Critter. 

I also cut out a bone from Create A Critter and welded on a bow from Gypsy Wanderings.  I then cut out an extra bow to go on top of the welded one. I inked the bone with Close to cocoa from Stampin' Up.   I used my Nesties for the circles and all paper was DCWV except for the solids which were Cricut papers.  Once I pieced it together, I added a cute ribbon and lots of stickles to the bows and star on Happy Birthday.  Finally, I added the gemstone swirls and three rhinestones to finish. 
Enjoy!