Showing posts with label Create A Critter. Show all posts

Monday, June 20, 2011

8 is GREAT!!! - Invite Tutorial

 Hi ya everyone!
  It's my turn to share a tutorial at She's A Sassy Lady today and I chose my daughter's invites as a project.
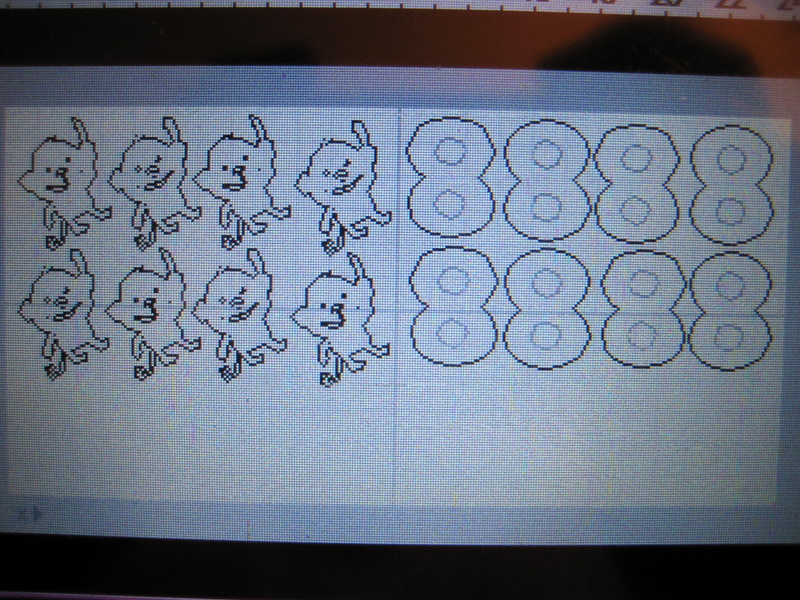
My sweet Anna is turning 8 this month and wanted a purple monkey cake - so specific for 8!  She also wanted monkey (Create A Critter) invites hanging from the number 8!  Again specific...she is all about the details! LOL - so I've decided to do a short tutorial on making single layer invites.  Instead of a card I wanted to make a flip over card basically because the monkey hanging from the 8 would be a little unsteady unless I placed it directly on a rectangle piece of paper.  I also like to use as little paper as possible.  I laid each element out on my Gypsy first and then split them up and made multiples.
Monkey Shadow (Brown Bazzil) and Monkey Front (Purple paper from Basic Grey stack Oh Baby! Girl)

Monkey Middle (Yellow Basic Grey stack Oh Baby! Girl and 8 backing in Green Basic Grey stack Oh Baby! Girl)
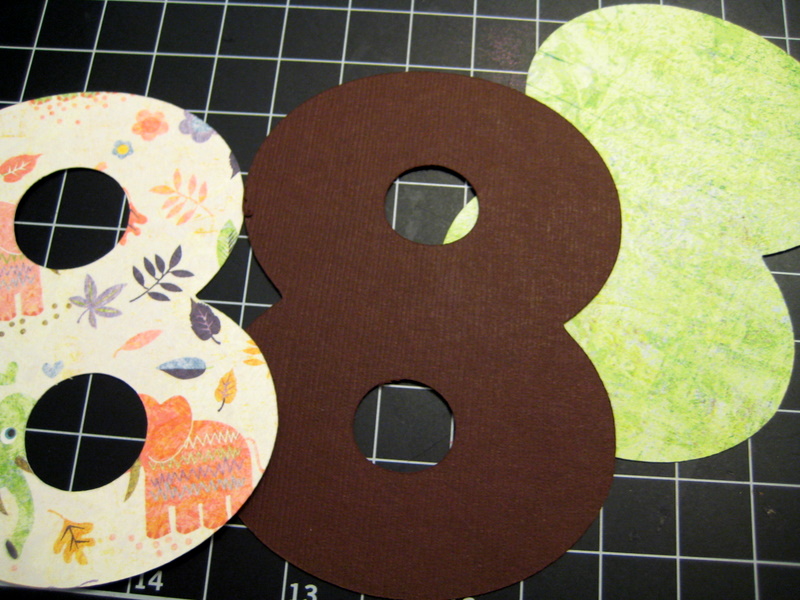
Front of 8 in Basic Grey elephant paper from Oh Baby! Girl stack and Brown Bazzil for shadow
I chose the following papers and cut out each card.
I also cut out an extra 8 with the holes shadowed for the information portion on the back.  Here are all the pieces cut and ready for assembly.
I adhered the 8 with my ATG.
I glued the top layer of the monkey onto the yellow paper and then adhered that to the shadow in brown using the ATG.

I then adhered the monkey to the 8 with glue and ATG.  I used both to make sure the two were adhered well together.
Sometimes I would use a bit too much ATG and it would hang over.
This is why I love the ATG I have because even though it's incredibly adhesive it can be rolled off gently.  I roll in slightly with my finger and then tear it off and use the glue ball to get any extra off.
Last, I grabbed my $1 Studio G stamp set, Versafine black ink and an acrylic block.
I lined up my stamps on the back of the invite first and then pressed the acrylic block to them.  I covered the stamps in black ink and stamped them to the invite! 
Thanks for checking out my tutorial!  I LOVE Comments and your encouragement is truly appreciated!

Friday, November 26, 2010

Giving Thanks - Paper Cutz Challenge

Hi everyone,
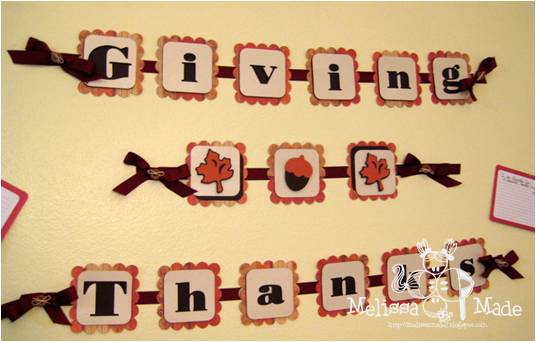
  Anything goes at Paper Cutz this week - which was a blessing because I really wanted to make this for my house and my husband and I liked the idea of a new Thanksgiving Day tradition.  I made a banner using my Gypsy, MiniMonograms and Cindy Loo font, an Acorn from Create A Critters and a maple leaf from Gypsy Wanderings.

  I chose the scalloped square and plain rounded square from MiniMonograms and used the font from Cindy Loo. 

This was inspired by Donna Mundingers Halloween banner found here.  Once I had the blocks and letters cut out I popped the top layer off the bottom.  I then used my ATG tape roller and taped all blocks to a maroon ribbon.  I then tied bows with buttons looped with hemp twine and used a glue dot to stick them to the edge ribbons. 

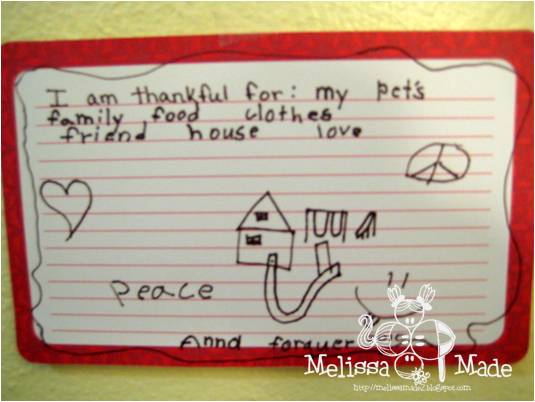
Finally, I found some recipe cards at Michaels for one dollar a set (20 cards).  I wrote at the top - I'm thankful for:  and each guest wrote what they were thankful for and hung it to the wall. 

We will keep these and each year hang them up on the wall and ask our new guests to write what they are thankful for.  This will allow us to remember our Thanksgivings and when hubby and I are old and gray we will have a number of cards to read and reminisce. 
Hope your bellies have recovered!!! Mine is starting too!  Don't forget to link your project over at Paper Cutz - there's no reason not too - it's anything goes!!!
Enjoy!

Sunday, September 19, 2010

Feeling Groovy - Tickled Pink Monthly Sketch #5

Hi Everyone,
  I thought I would try the Tickled Pink Sketch Challenge this month.  I don't typically buy rubber and previously they had all rubber but right now they have a few of their awesome stamps as digi's.  If you don't have any you might want to go grab some!! Love them - might have to get them all! 

  I cut the shapes out of 1.33inch squares using my Gypsy.  I placed the shape - heart (Create a Critter), Flower (George) and peace sign (Give a Hoot) inside the square and cut them in three colors.  Next I layered each cut out on a colored square and then placed the peace sign back into those.  I inked all edges in Close to Cocoa.  I colored 60's Willow in Copics and used my nestables to cut her out. 

I then computer generated the sentiment and cut it out using my circle nestables. 

I added this fun peace ribbon that my 7 year old picked out and topped it off with a little bling, a few extra cut outs and a flower sticker.  I also added the background paper from DCWV the butterfly stack to the inside and put a piece of white paper inked on top and added a few of the left over cut outs. 
Make sure to check out the challenge! Thanks for looking!
Enjoy!

Sunday, September 12, 2010

Back To School - Meljens Challenge

Hey Everyone,
  My daughter went back to school this past week and this Wednesday we have a back to school night.  I saw this challenge at Meljen's and decided that it was perfect for the card I wanted to make for her new teacher!  I got two new stamps for this challenge - the back to school badge and the cute stick girl
I did a few things for this card - let's start with the paper - I chose the paper from the DCWV School Stack.  However, the red paper for the apple is just a plain piece of red that I repeated the badge pattern over and over.

  I also chose a thick brown paper for the card base, a light brown for the first apple, and green for the leaves.  In addition I cut out an apple in white for the sentiment on the inside.  I chose the apple from Create A Critter cartridge - I think it's the cutest apple on any of the Cricut carts - but I'm a sucker for Create A Critter! LOL - I connected two shadows for the card base.  Remember to flip one side when doing this on your DS or Gypsy or else your images won't line correctly.  For the red portion of the apple I used the hide contour feature and got rid of the apples cute face as it was going to be covered up anyhow and popped it up from the bottom layer.  I used my circle nestable for the badge I colored with my Copics and then cut a larger circle with my nestable for the circle shadow and popped this up as well.  On the inside I colored the two stick girls (one being my daughter and one being her new teacher) and nestables those as well.

 I added the ribbon to the stem and added some red and green stickles to the leaves and heart! 
Enjoy!

Monday, August 2, 2010

Happy Birthday - Jitterbuggin' #11

Hi everyone,
  I'm getting ready for a family vacation!!! YAY!  We are headed to the Oregon coast for a week and a half.  I'm a little worried though as our vacation house won't have WIFI.  Hmmmm, not sure how to feel about that - but I'm sure we can find a spot at least a couple times for me to post.  I will of course be taking some crafty items - but the beach is such a relaxing calming place for my husband and I that we will probably spend much more time out there then in the house.  So if you don't hear from me for a little while, don't worry I'll be back with some new creations as soon as possible!
  Now, on to the Jitterbuggin' Challenge.  I used Sherri's sketch:


The rules for this challenge were to use the sketch, add some purple, have a cricut cut and to make a birthday card for a child.  Great challenge because we all need to stock up on those birthday cards.  This card was inspired by a good friends daughter.  She dressed up as a little pink poodle for Halloween.  The costume was adorable and made by her mom.  Jen is very crafty, check out her blog here if you like layouts!  Anyhow, all I could think about for this card was the poodle from Create A Critter. 

I also cut out a bone from Create A Critter and welded on a bow from Gypsy Wanderings.  I then cut out an extra bow to go on top of the welded one. I inked the bone with Close to cocoa from Stampin' Up.   I used my Nesties for the circles and all paper was DCWV except for the solids which were Cricut papers.  Once I pieced it together, I added a cute ribbon and lots of stickles to the bows and star on Happy Birthday.  Finally, I added the gemstone swirls and three rhinestones to finish. 
Enjoy!

Friday, July 30, 2010

A Thank You


Hi Everyone,
  I have a thank you to give to a great coworker who really did me a favor.  She's amazing - and I really appreciate what she did for me.  I decided to make her a little thank you bouquet.  I started with a peanut butter jar and washed it in the dish washer after removing the label.  I used brown vinyl (which I love by the way - this is my first time using it) and adhered a number of Thank Yous to the glass.  I used every thank you I could find on my cartridges! 

I filled the jar with m&m's and then used Stretch Your Imagination to make the birdhouse.  I was inspired by a card Jeannie Phillips did for the birdhouse with the branches - check her card out here.  I then cut out some birds on Create A Critter and Stretch your Imagination - and added everything to a straw or wooden rod.  Next, I took some pipe cleaners and twirled them around my fingers to also add. 

A quick project that I was able to finish in one night.  It also fits the criteria for the Fantabulous Cricut Challenge.  Make sure to check out their great site! 
Enjoy!

Monday, July 12, 2010

By the Sea - Jitterbuggin' Challenge

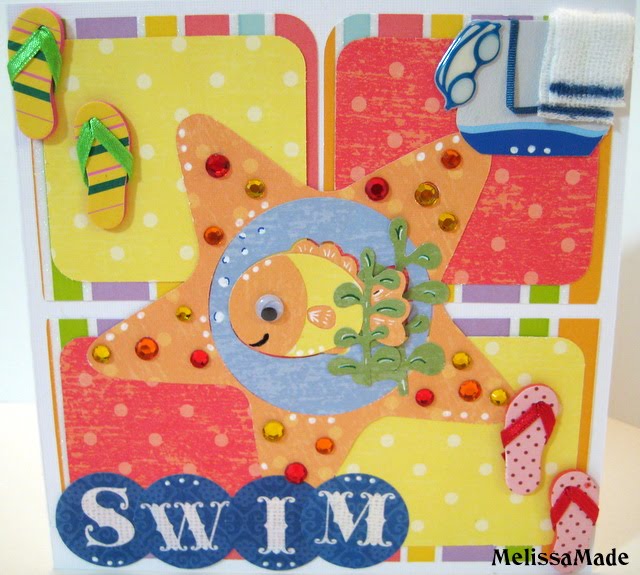
Challenge time again at Jitterbuggin' with Sherri.  The rules this time were as follows:  Follow the sketch, use red and yellow, and cut an item on the cricut that's from the beach.  I had a very hard time choosing my colors for this.  I finally turned to papers (Creative Memories Journaling Kit) that Sheila sent me from a challenge she had at She's A Sassy Lady - great blog by the way...always something new going on over there!  Once I found all these great colors and different patterns that were soft and fun at the same time I was set.  I used my Gypsy to set up this 6 x 6 card.  I used George for my squares and Create A Critter for all beach themed items.  I added a circle form George to the center of the starfish on my Gypsy so I could put a small ocean scene in the center.  I added some rhinestones and a Jolees swim bag, as well as the word SWIM from a set of stickers I picked up.
Enjoy!

Monday, July 5, 2010

Eat Play Sleep

Ok, so I spent some time working on a new card today for the Jitterbuggin' Challenge. I decided to rework this card actually using the stickers I had originally wanted to use. Also, choosing paper that I thought was more me. I made my own using a cream paper as well - this was fun. On Word I wrote eat play sleep and copied and repeated a number of times until I filled up a page. The margins were set at 0" all the way around. I then changed the font to one I liked - Bradley Hand ITC and changed the color to a light brown/orange. I used a background piece of paper from my Tim Holtz Ideology pad. I also used a paw print paper that I purchased years ago, sorry no name on it. The paper that has paw prints cut out - I did on my Gypsy - I used George and Basic Shapes - welded three ovals together and then put four ovals over the top. I also used the Gypsy to cut the kitty and pillow from Create a Critter. The words EAT. PLAY. SLEEP. and life is good is from a sticker set called Creative Imaginations and it's all epoxy kitty stickers! I should mention this is an A2 card. I popped the kitty and pillow out from the background piece that's also popped. In the end I added a shear cream ribbon to the edge.

Tuesday, May 25, 2010

Garden Filled With Love - Feautured in The Chirp


Garden Filled with Love

What I learned - The card for this was supposed to just lay inside the outside portion that I turned into an envelope. The problem was that once I turned it into an envelope the insert didn't fit properly, so I had to trim down the insert...and cutting from just one side wouldn't work b/c it would end up lopsided. So I had to trim from both sides.

Just Because Cards
I used the envelope and card third row down, first one. On my gypsy I set the dimensions 8.75 Height the width followed, on the Cricut cut at 8 ¾. Once cut, I used an adhesive runner down the left side and bottom of envelope (make this as thin as possible) for the insert I made it at a height of 8.43, on the Cricut I would go with 8. The insert is too big when I cut on the gypsy. However, I just trimmed up the edges to fit! I also cut a few rectangles on the Circuit to place as background paper. The one on the card was 7.25 and imaged using the cut from JBC that I used for the card insert (again third down and first image – with a shift). The other background papers I just used my paper cutter and sized to liking.

Walk in My Garden
I used the hearts from the bleeding heart. The top layer was cut at 4.12 (4 on Circuit) and the bottom was set on shadow (however, I made them almost match the top layer, didn’t really want a shadow here). The garden sign was 4.12 (4 on Circuit). All stems were cut from 2.53 (2 1/2 on Circuit) to 3.68 (3 ½ on Circuit). The shadow function was used for the background of the sign – 4.11 (shadow of 3 ½ would work on the Circuit).
Create a Critter
The bird and all its parts were cut at 2.16 on the gypsy (2 or 2 ¼ would work for Circuit).