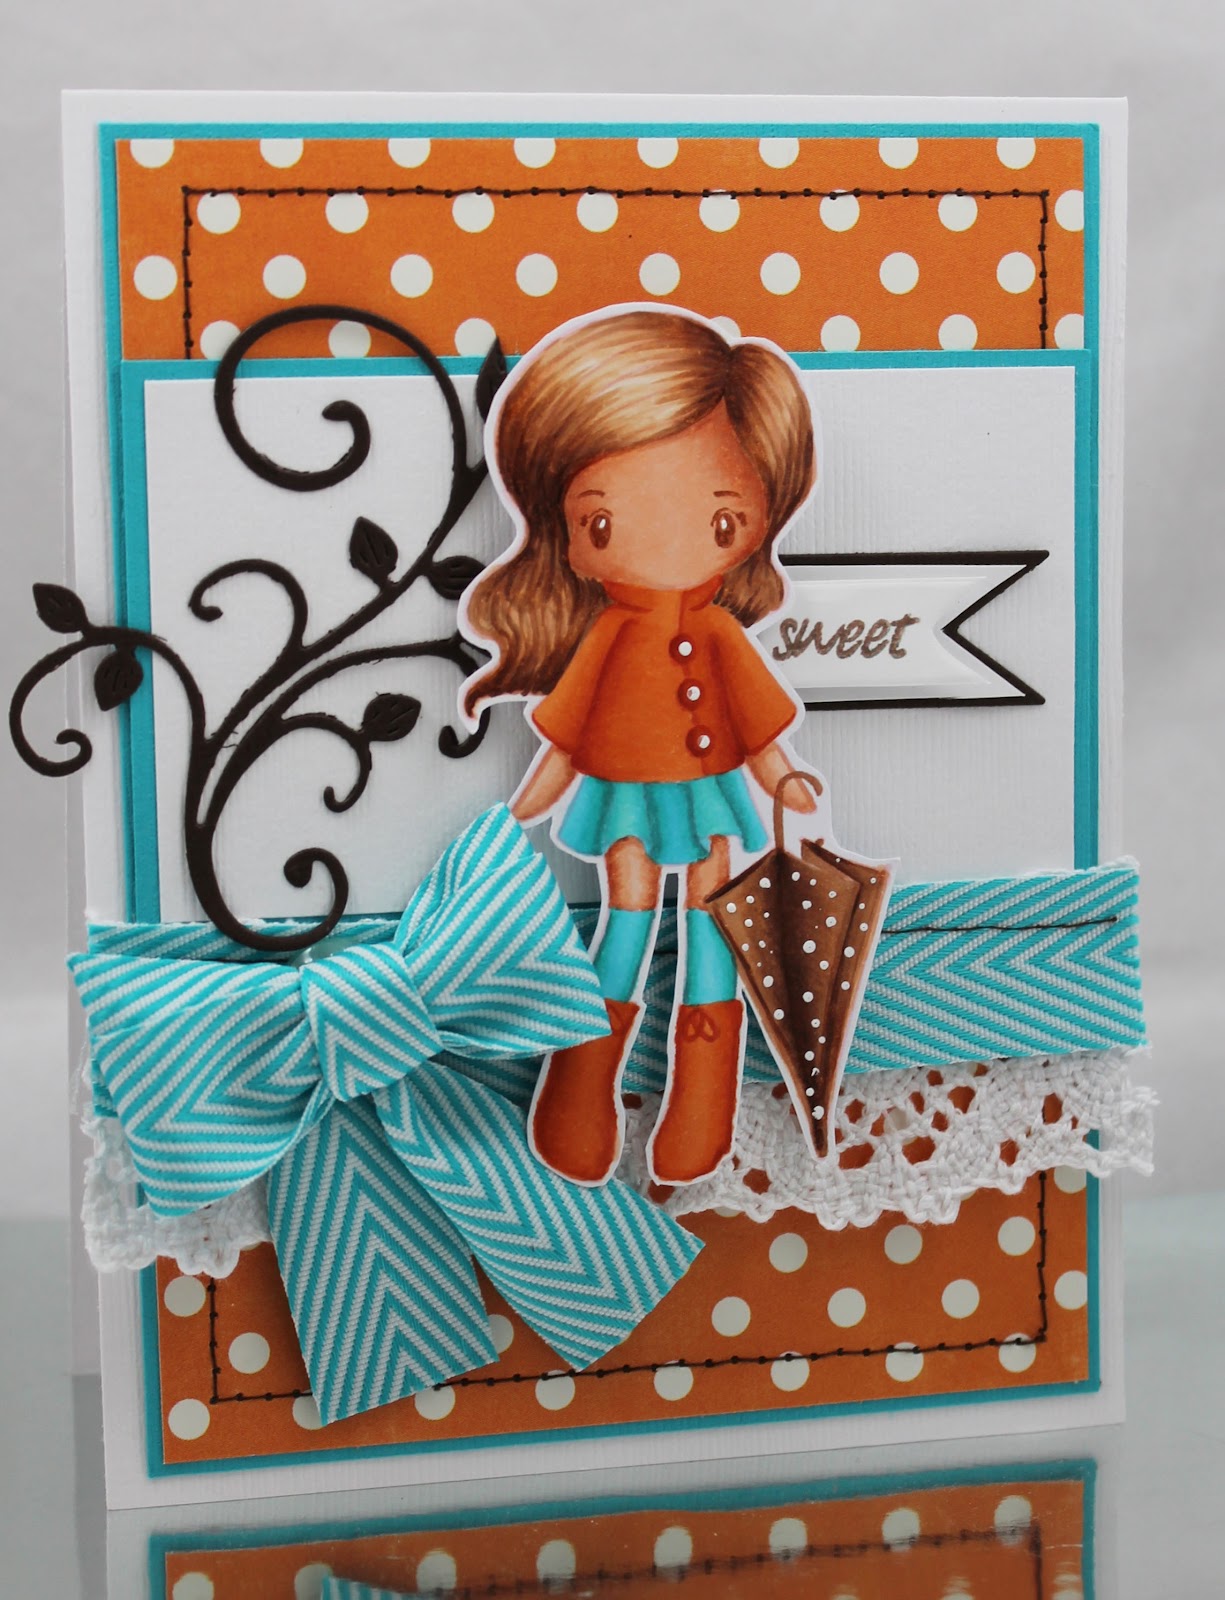
Showing posts with label The Greeting Farm. Show all posts

Tuesday, March 26, 2019

HB2U - 7 Kids and The Greeting Farm


Hi ya everyone!  Quick post today using these adorable foxes from The Greeting Farm called Foxy Fun.  You know, time is running out to get your 20% discount on all The Greeting Farm stamps and Mixed Media products!  The sale ends at the end of March...so you better get on it!


I stamped these cuties in Memento Black ink and colored them with my Copics.  I then mounted them on paper from LDRS Creative called Candy Counter.  Make sure to head over to the 7 Kids Customer Create page for lots of fun...that is of course after you shop the sale!

Tuesday, March 12, 2019

Mermaid Kisses - 7 Kids Crafts


Hi ya everyone!  Today, I'm sharing a cute card I made with the ADORABLE Mermaid Kisses from The Greeting Farm.  Right now at 7 Kids you can get a discount on these cuties and any The Greeting Farm cuties!!!! 

First, I created the water-colored background with my Prima watercolors.  Right now, Kelly has the Vintage Pastels in stock, and while I didn't use those for this card, I might have to drop them in my cart.  These are fabulous watercolors...silky and smooth and give you fabulous coverage.  I colored the mermaids in my Zigs and then added Sheer Shimmer Stix in Sparkle from Imagine.  I also sketched in some plants with my Copics.  

Thursday, January 24, 2019

This is for YOU!


Hi ya everyone!  Today I decided to go outside of the normal and stamped this adorable The Greeting Farm stamp, With Love set repeatedly in a background.  I purchased them at 7Kids.  I also added the cutest little fairies from the set too!  How adorable are they?? 
The entire card was colored in Copics.  I mounted the colored card on a piece of red cardstock and called it good.  The coloring is really the star here!


I also used that new Imagine product that I sneaked to you yesterday.  The below image really shows this new product that I just adore.


Any guesses!? 

Make sure to follow me on YouTube, Facebook and Instagram!  All the links are above.

Thursday, February 8, 2018

The Fluffiest Unicorn - Fireworks Sprays!!!


Hi ya everyone!  Today, is travel day.  My sister and I are heading to a fun weekend of art with Dina Wakely.  But first, I wanted to share this card I made using the best sprays I've ever used!!! I love these Fireworks sprays from Imagine!  You guys, they are gorgeous.  The sparkle is truly amazing.  The color is super concentrated and vibrant!  I took a piece of Bristol Smooth paper and simple sprayed the ink everywhere.  I used Rosebud, Grape Jelly and Bahama blue and just look at the color.


These are the perfect color for unicorns right!?  So why not use the adorable The Greeting Farm stamp set called Fluffy Unicorn.  I decided to stamp them and simply cut out the body of the unicorn so that the gorgeous Fireworks! color could be the mane and tail of the unicorns!  I added sequence and done.  Seriously, a simple card and gorgeous.  I topped it off by stamping the sentiment in Versafine Clair Nocturne!


Friday, November 10, 2017

A Simple Kitty Hello


Hi ya everyone!  I am an animal lover and for some reason kitties have been my go to image lately!  I decided to color up these cuties from The Greeting Farm called Kitty Stacks from 7 Kids.  This is a simple card using just the stamps from the set and my Copics, which is perfect for The Greeting Farm challenge this month!


I'm doing a coloring tutorial on November 18th on how to color kitty fur just like above!  So make sure to join in.

Have a great weekend!

Wednesday, October 25, 2017

Merry & Bright - The Greeting Farm


Hi ya everyone!  I colored up these cuties from The Greeting Farm called Merry & Bright that I got during the 7 Kids sale!  I love this little set, not just for the reindeer but for all the little cute images and sentiments.  I colored them up in my Copics and even took a little video for fun.


I often color quickly and add little detail when I have cute papers I want to use.  A simply colored image allows you to notice the paper and the image blends better than an intricately colored scene or image.


I used this adorable paper from Bella Blvd. called Santa Stops Here, that I also received from 7 Kids.  Did I tell you how fast their shipping is??? SUPER FAST!


I hope you enjoyed todays cute little Merry & Bright card.  Don't forget to watch my video and give it a like!

Sunday, August 20, 2017

Let it Snow!

Is it a little early for snow??  I'm ready for the change in season but maybe winter is a bit of a stretch! I've been inspired by the number of winter/Christmas cards that are popping up in my feed.  I love the rubber stamp set Miss Anya Scarves from The Greeting Farm and decided to use this cutie for a no lines coloring go!  I believe it's a discontinued stamps set though.  Man, it is a difficult technique and I probably wouldn't recommend it for beginner Copic users.  However, it does teach you how to make sure your shading is appropriate, otherwise you get a large blob of color!!!

I stamped in my angel pink memento ink and colored her in the following Copics:
Skin: E000, E00, E04, E11
Hair and Boots:  100, C7, C5, C3
Jacket and Scarve:  B93, B95, B97, B99 and B32, B34, B37, B39 and BV20, BV23, BV25, BV29

After coloring I fussy cut Anya and then designed the card around the theme of snowflakes.  I used Make It Crafty snowflake chipboard and embossed with platinum and silver embossing powder.  I used my stitched hillside dies from Lawn Fawn.  This card is a 5x5.

Tuesday, January 1, 2013

The Greeting Farm Blog Hop for the New Release!

"RINGING in a NEW year with five FABULOUS new RELEASES!"
Hi ya everyone!  
Today is release day at The Greeting Farm and we are SO excited to be wrapping up an exciting preview week with ALL FIVE releases available TODAY in the TGF Store!
The Greeting Farm wants to wish all of you a happy, healthy, and FUN 2013 and what better way to kick off the FUN part than with some crafty time?  We hope you are just as excited about these five new releases as we are and can't wait to see what YOU create when you get them!

We are just about to kick off our PREMIERE Guest DT Blog Hop, but first, I'm sure you are all wanting to know what the GRAND PRIZE is, right?  Well, if you guessed the ENTIRE JANUARY RELEASE, you guessed right!  One lucky hopper will walk away with all of these sent right to their doorstep, so as exciting as that is, let's get to hopping!  If you just came here by chance stop off at the TGF blog to check out more details!!!
MELISSA ANDREW - that's me!
Thanks again for stopping by today and we can't wait to see who the winner is!  Good luck and HAPPY NEW YEAR! 

Thursday, December 27, 2012

Lovey Bean Release Preview at The Greeting Farm!

Hi ya everyone!  Continuing today with The Greeting Farm PREVIEWS!  Remember the stamps you see will be available for purchase on January 1st, 2013 from The Greeting Farm.  This week though, we are previewing all the new images and today we get to feature a BEAN!!! I love these sweet girls!!
Meet Lovey Bean
Oh my gosh isn't she adorable!  I love all those cute little side stamps that come with her!  The sentiment is so sweet, "I found myself a love so true"!!!  The hearts and flowers really add a nice touch to the card as well. 
I loved mixing and matching papers with this sweet girl! 

Make sure to check out all the designers today and leave comments on their blogs and The Greeting Farm blog for a chance to win this girly!!!

Melissa Andrew - that's a me!

Wednesday, December 26, 2012

The Greeting Farm PRERELEASE Preview!!!

Hi ya everyone!  Today, I am sharing something a bit special.  I was asked by the wonderful Jessica of The Greeting Farm to be a guest designer for a special release!  I of course jumped at the chance and today I'm PREVIEWING one of the new releases.  They will all be available on January 1st!
 This adorable new stamp set is called Sitting Wonderful and comes with this sweet girl you see above!  You can also pair her with her adorable love seat seen below!
Would you like to win this set for your very own??  Make sure to head to The Greeting Farm blog to see what the other designers created and to learn how you could win this stamp set.
Here are links to all the designers previewing today:
Melissa Andrew - that's a me!
Make sure to join The Greeting Farm all week to sneak the new releases and to possibly win one for yourself!!!

Monday, October 15, 2012

Make a Wish and Believe

Hi ya everyone!
Monday already?  Yikes, the weekend goes so much faster than the week...why is that?  My husband and I got a lot of cleaning and organizing done this weekend so that feels really good.  I always love starting my week with a clean organized house.  That includes my craft area; moved some things around and put some things away and now I love my whole home all over again!
We are starting off this Monday with a little WASHI tape at MarkerPop.  I love my Washi!  I have to admit though, I do something a bit different when I use Washi, I always put it on some white paper first.  Is that weird?  I like it to be really bright and noticable, so adding white paper underneath always accomplishes that for me.  I also like to trim it, like I did above, into pennants. Having the white paper underneath makes that a lot simpler.
I used the adorable Bright Bean from the Greeting Farm and decided to enter their fun color challenge too.
 
Everything here is from MarkerPop from the papers to the embellishments!  The paper is from two different stacks: Simple Stories - Country Botique and My Mind's Eye!  The Washi is square grid yellow.  I don't know if you can tell but her bathing suit is also paper pieced.  I used my Copics for the coloring of course and finished off with a touch of stitching! 

Monday, September 17, 2012

Rain or Shine - MarkerPop

Hi ya everyone!  We have a fun new challenge at MarkerPop and you must join as it's anything goes!  WOOT!  I used the adorable Anya set called Rain, Snow, Shine from The Greeting Farm.  I also used a no line coloring technique by stamping in a light pink; angel pink from Memento Ink.  I used a number of beautiful ribbons from The Ribbon Carousel too!  The die is from Cheery Lynn Designs.  Stop by the MarkerPop blog and join us!!

Wednesday, January 4, 2012

It's Cold Out There - iCopic

Hi ya everyone!  Today is my day to share at iCopic!  I'm so excited to be joining this talented group of ladies and want to share my excitement with you!  The holidays are over and often times I find myself wishing for spring right away.  However, that's just not going to happen and it's still COLD out there!  I decided to create this cute card using a winter stamp by The Greeting Farm bought from iCopic called Rain, Snow, Shine.  We all need adorable holiday stamps for our holiday cards but often times feel limited with them, but don't!  You can still create gorgeous cards with a wintery feel that are perfect before, during and after the holidays. 
This is a perfect example. I stamped her on X-press It blending card paper with Tsukineko Tuxedo Black ink.  Next, I colored her with Copics in the following colors:  E50, E51, E53, E55, BG10, BG72, BG75, E000, E11, E00, R20, W1, W3, W5.  The paper is from Pink Paislee.  Don't forget to stop by iCopic and get your fabulous winter stamps today! 

Tuesday, June 28, 2011

Notebook Tutorial using the Yudu Card Shop

Hi ya everyone!   I'm sharing a little notebook tutorial using the YUDU cardshop that I received from The Cricut Couple  as blog candy giveaway!!  I was so excited with this win that I had to share a project with you all!  Thank you to my friend Pam for letting me teach and learn on her blog - The Bug Bytes today!  First, I started with some Tan Havane Yudu Ink and a number of papers from the DCWV Linen Stack.
I chose the LOVE screen from Provo Craft for this project and placed the screen in the top of the machine.
Next I adhered a turquoise paper (5x7) from the above photo.  The color is a bit washed out but it is turquoise.
Next I placed a strip of the tan ink along the top.
I do not flood fill my machine first as the directions say - I've noticed that when I do I get overflow.  So I do a swipe down and then a swipe up and take a look.
UH OH!!!  I didn't like the light tan on my paper - it did not show up well - so I changed my mind and opted for this chocolate ink.  I removed my old paper and placed a fresh sheet in.  Without cleaning the screen I added the chocolate and repeated the above process.
I also decided to swap out the tan paper for a nice rich chocolate paper.  I then cut the square down to a 4.75 x 4.75 sheet.  My notebook will be a 6x6 book.  I cut two chocolate pieces at this size and also cut two pieces of thin cardboard (cereal box) at this size.
I then layered the chocolate paper on top of the cardboard and left my paper to dry.
Next I chose a cute stamp from The Greeting Farm that my sweet hubby got me for my birthday - this is Flirty Anya and she can be found HERE.
I stamped her in Memento Ink as I can use this with my Copics on Express It cardstock .
Next, I used the following Copics to bring her to life!
Isn't she just the cutest?? I love her little smiley face!  I also added a bit of pink to give a little pop of color to the notebook that is predominantly turquoise and brown.
Since I liked the pop of pink in Anya, I decided to add a very thin layer of bright pink to the back of my Love paper.  I then layered each paper and placed Anya close to my YUDU'd piece of paper!
I cut a number of pink and white sheets of paper at 6x6 to fill the inside for a writing tablet and used the cinch to bind my notebook together.
This was a simple project - adding embellishments and small touches would add more interest.  However, I chose not to as this will be in and out of my daughter's schoolbag and would likely rip the paper.  I also thought that this might make an adorable mini album!
Thanks for stopping by today I hope you enjoyed my tutorial.  For more fun projects head over to The Bug Bytes  Don't forget to leave a comment - I just love them and please feel free to ask questions too!

Friday, June 17, 2011

Thinking of You

Materials:
Stamp - The Greeting Farm Angel Anya
Design Paper - My Minds Eye Stella Rose
Copics - See below
Bakers Twine - My Craft Spot
White Accents - White Gelly Roll Pen - Sakura
Die - Circle nestabilities
Punch - EK Success Open Scallop
Colored her in my Copics and used my white gelly role pen to accent certain portions of her clothing and face.
I created the flower with some fabric using my circle nestables, a brown button and some baker's twine.
I created the inside with matching papers and the scallop border punch.
I used all earth tones to color little Anya for the iCopic Lover challenge!!!
Care about my Copics???